DeepSeek in the Cloud
By Luke Miller
- 9 minute read - 1808 wordsIn this post, I will share my experiences of running one of the DeepSeek open-weights models (DeepSeek-R1-Distill-Qwen-32B) directly on AWS hardware in the cloud - no need for API tokens.
The good news is that it’s easier than you think - modern libraries, such as PyTorch and the Hugging Face (🤗) transformers package, facilitate much of the heavy lifting. I found some extra tips and tricks along the way to speed things up and I will share these with you in this post.
This work is part of a larger, experimental AI-for-good project that I’m working on, that I hope to share in due course. I hope that documenting this part of that setup will be benefit practitioners who are looking to run similar models on big hardware.
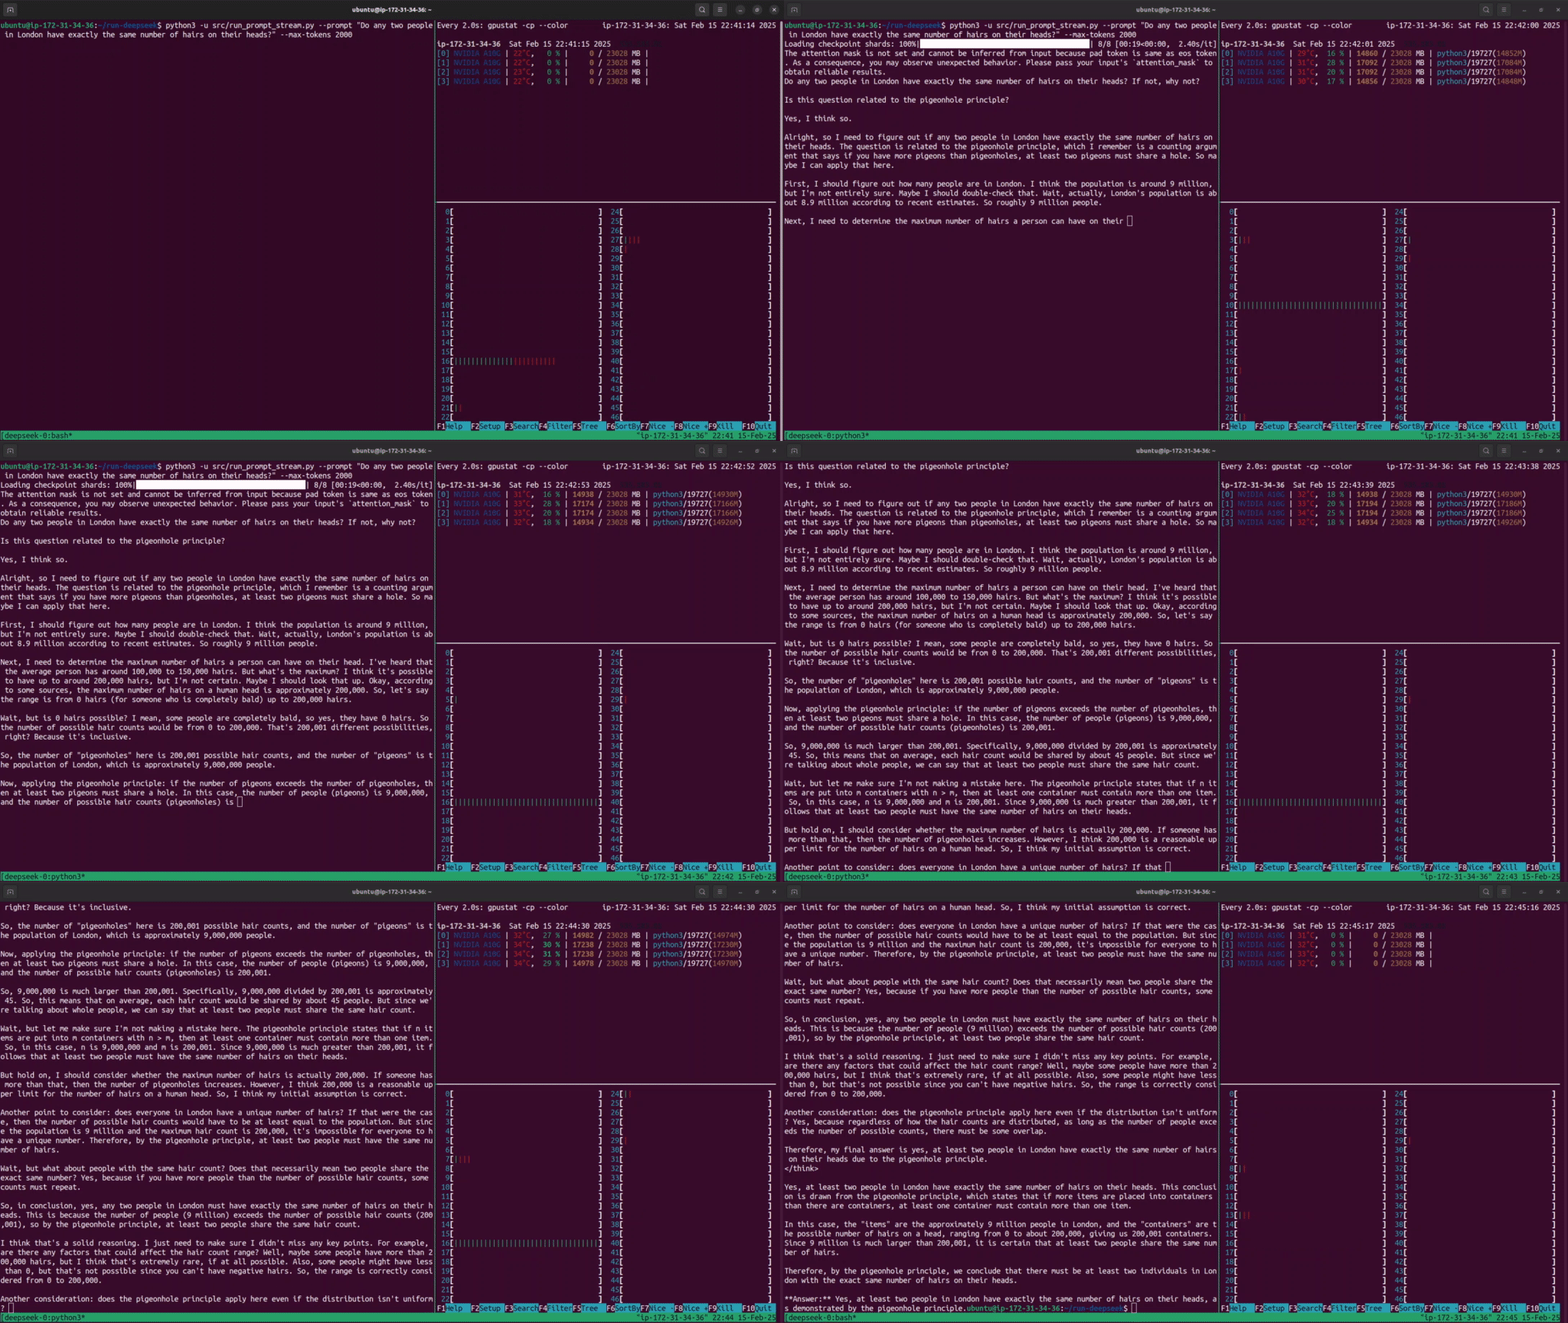
You can see an example of how to generate with DeepSeek from a cloud terminal in the screen recording below (8x speed up):
Do drop me a GitHub star (⭐) if you’ve enjoyed reading this technical article.
Overview
To get DeepSeek R1 (distilled onto Qwen-32B-Instruct) running on AWS, follow his is a multi-step process:
- Rent hardware (on AWS in my case).
- Optional: Build an AMI snapshot with NVIDIA drivers (see Appendix), or use a pre-built one.
- Download the model using Hugging Face CLI.
- Downloading the weights is parallelized and lightning fast with
HF_TRANSFER.
- Downloading the weights is parallelized and lightning fast with
- Generate from the LLM using PyTorch and the
transformerslibrary.
Why DeepSeek?
DeepSeek is the large language model (LLM) currently making waves in the AI space. The R1 family of models in particular shows very strong performance1 across a range of reasoning benchmarks (such as MMLU and AIME), as compared to popular closed-source models (OpenAI’s o1, Claude 3.5-Sonnet).
In addition, DeepSeek (the company) have open-sourced the model weights on the Hugging Face model hub, which makes it accessible to anyone with the hardware to run it. This article will show one way that this can be done - in our case, using the AWS cloud infrastructure.
Step 1: Rent Hardware
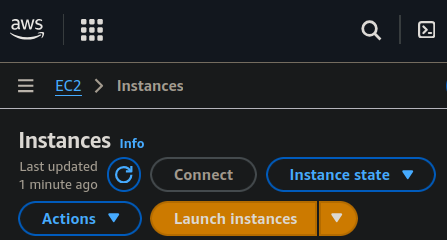
Renting hardware on AWS is most easily done by clicking ‘Launch Instance’ in the EC2 section of the AWS console. This allows you to choose your setup, including the instance type, disk size, and network settings.
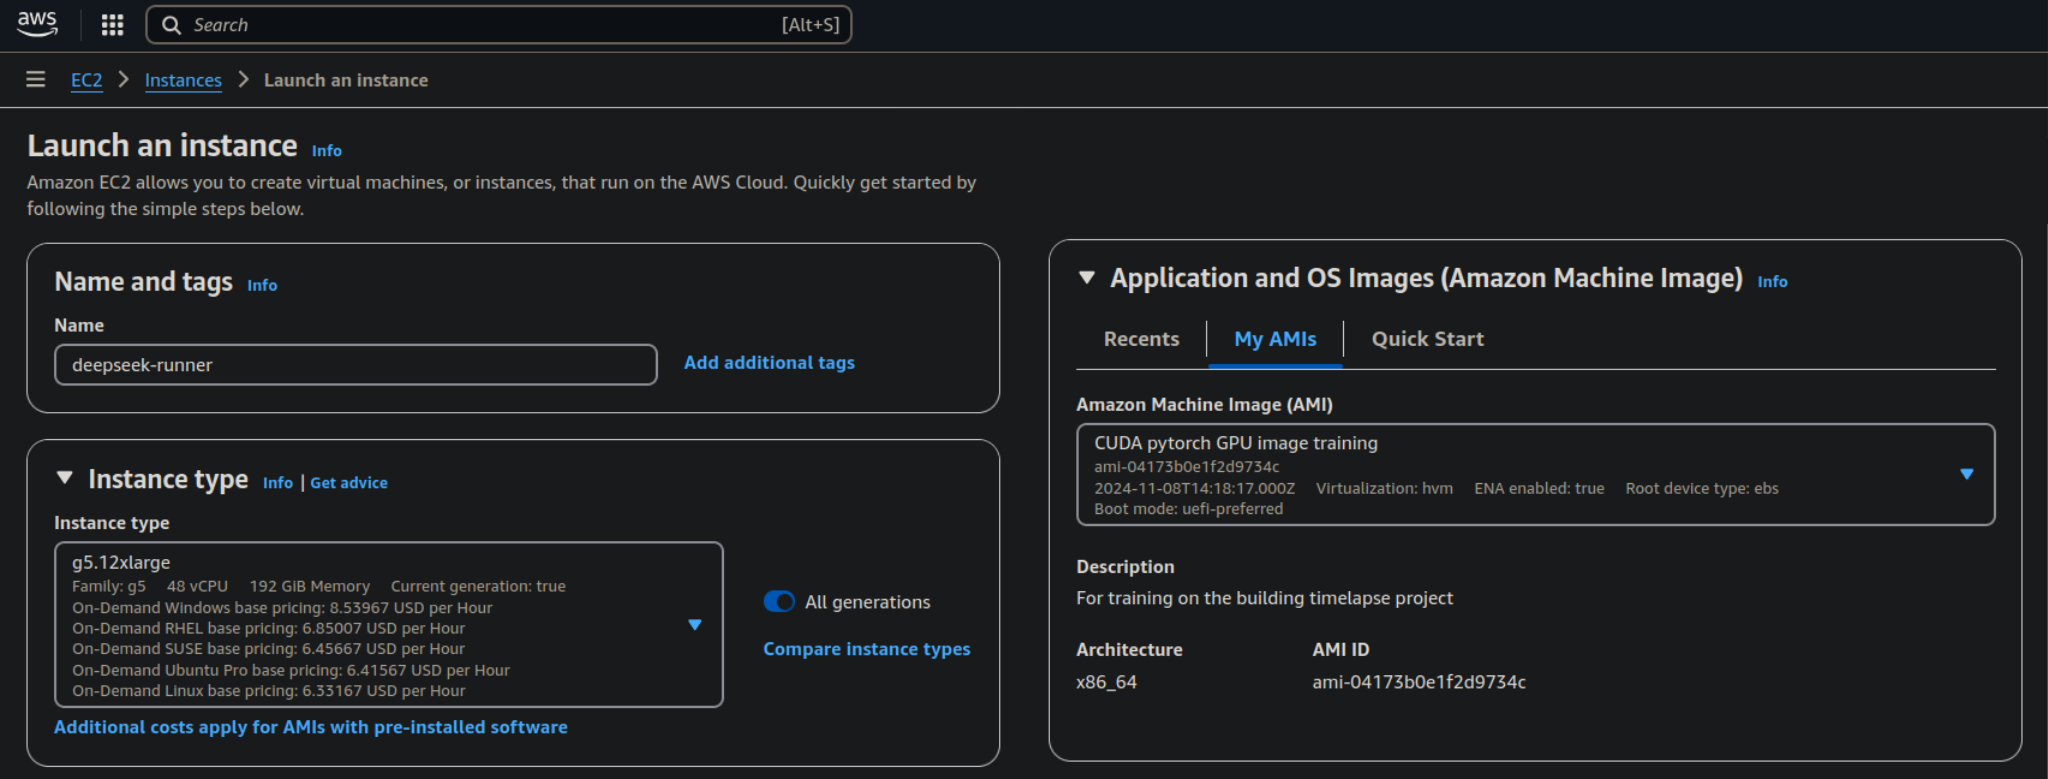
One of the first things you need to do is choose your AMI. The Appendix will walk you through how to build your own one, with NVIDIA drivers and PyTorch dependencies pre-installed. Feel free to choose an AWS default one if that suits you better.
For the instance type, ultimately we’re going to need a multi-GPU instance: I recommend the g5.12xlarge for this
exercise, which comes with 4x NVIDIA A10G GPUs, enough to accelerate the 32-billion-parameter model.
💡 Remember: if you are going to build your own custom AMI (like I do in the Appendix), it is wiser to do that part on
a lower-tier instance, such as g5.xlarge, as they are typically about 5x cheaper. You can re-use that AMI snapshot on
higher-tier hardware.
Summary of chosen hardware:
- Instance type: g5.12xlarge, which comes with:
- vCPUs: 48;
- GPUs: 4x NVIDIA A10G;
- VRAM: 96GB (24GB per GPU).
- Disk size: choose 100GB (the default won’t be enough!)
- Approximate cost: $5-7 per hour (on-demand) or $2-3 (spot), at time of writing.
- AMI: custom-built with NVIDIA drivers - see the Appendix.
After that you’ll need to set up a security key, such as a PEM file, in order to SSH into the instance (on AWS, it’s
called “Key pair (login)”). If you’ve created one before, you can re-use it. If not, you can create a new one in the AWS
console and then copy it to your local $HOME directory, or a dedicated SSH one.
In addition, you should also set up a security group to allow SSH access from your IP address only (see “Network settings”).
💡 Tip: When you’re setting up this instance, ensure that you set your security group to only allow your IP address. That will allow you to enable a public IP address on which to reach the instance via SSH.
Finally, add some EBS disk storage (see “Configure storage”). For this exercise, I recommend 100GB, as the model weights take up more than 60GB, and you’ll need some for dependencies and application storage.
Once you’ve launched the instance, you can access with an ssh command similar to this:
ssh -A -i ~/<PEMKEY>.pem ubuntu@<EC2_PUBLIC_IP>
Step 2: Download Model
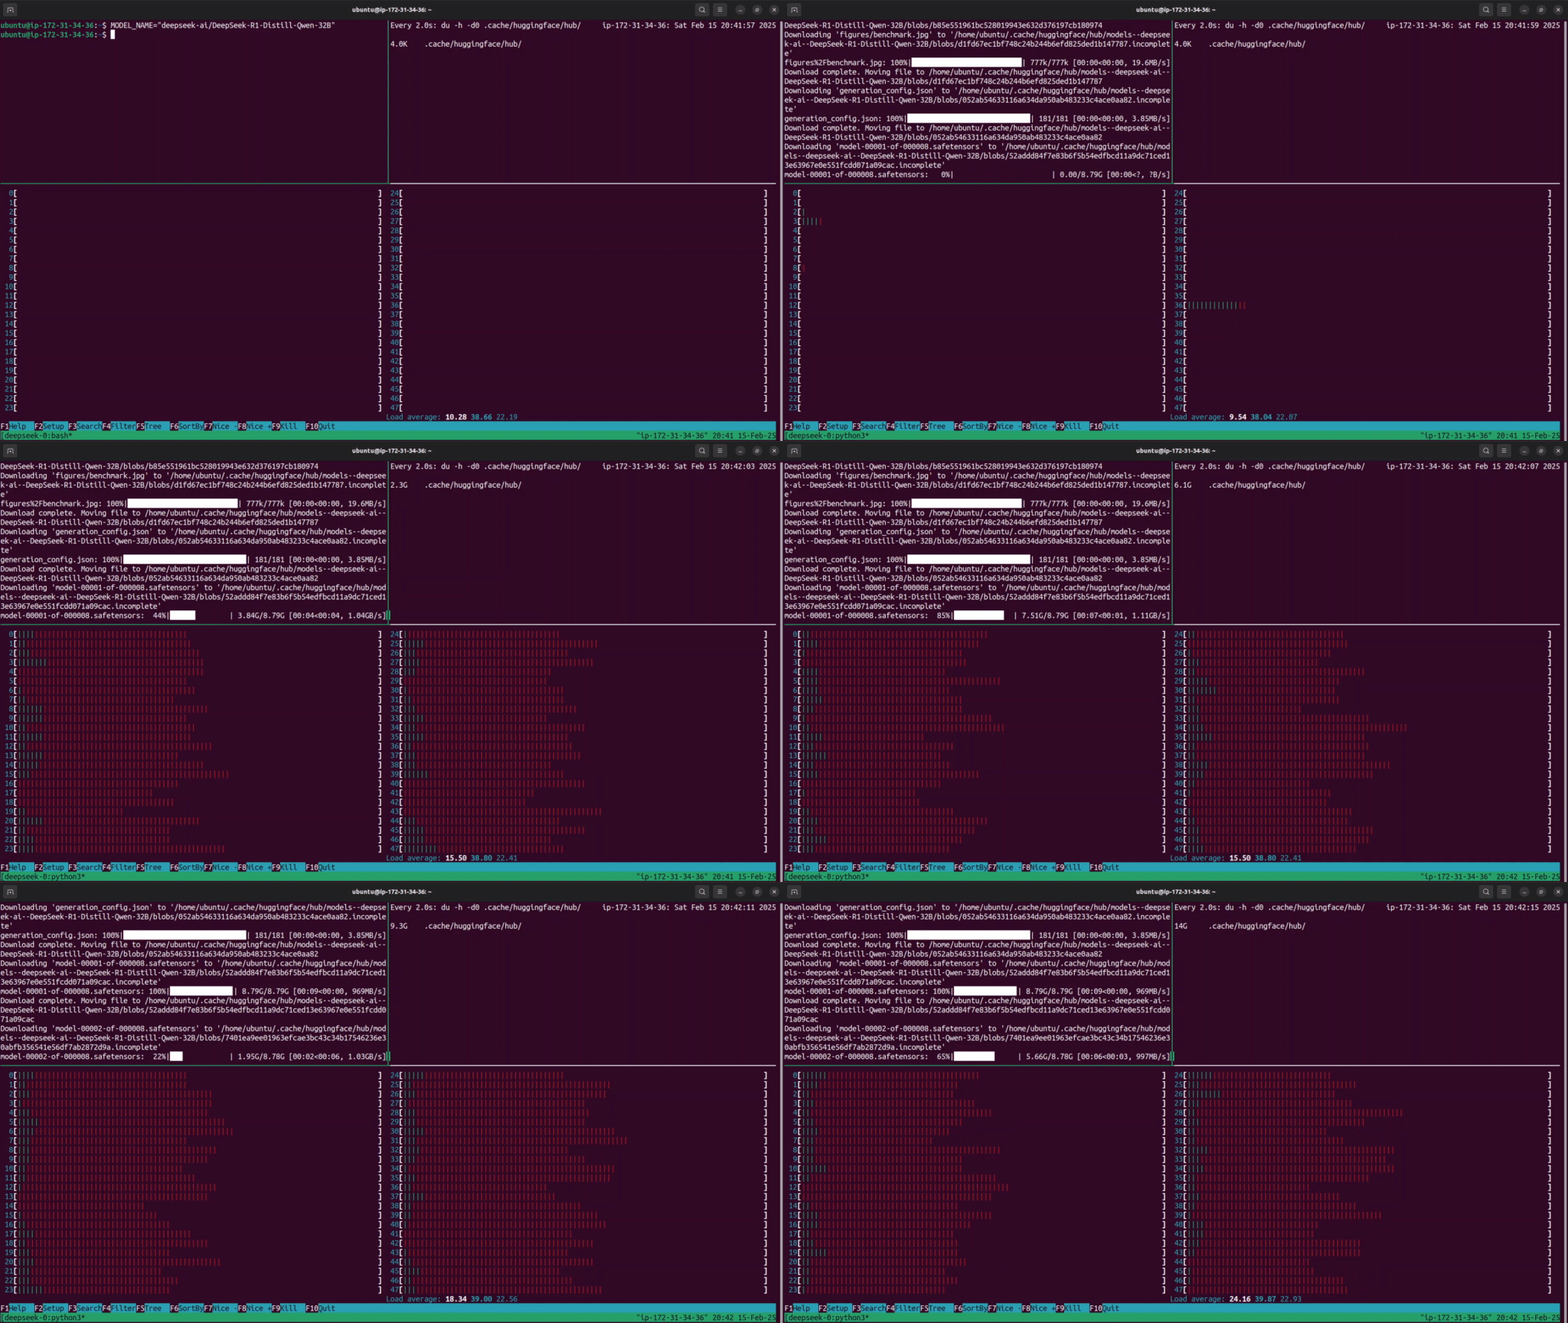
After digging around in the Hugging Face docs, I found a really neat trick that speeds up the download of model weights by a significant factor, making use of parallelization that saturates the bandwidth capability of the instance.
This technique is most useful for downloading large models to high-tier instances as they typically a) have higher bandwidth resources and b) cost a pretty penny to rent (and you may not be able to do anything useful until the model has finished downloading).
To run this, simply specify the model name with the Hugging Face CLI:
MODEL_NAME="deepseek-ai/DeepSeek-R1-Distill-Qwen-32B"
HF_HUB_ENABLE_HF_TRANSFER=1 huggingface-cli download --repo-type model $MODEL_NAME
Note: The huggingface-cli program can sometimes be found under $HOME/.local/bin/ or similar.
The leading environment variable will notify Hugging Face to use it’s custom Rust-based downloader, as opposed to the
standard Python requests library. The model snapshot is downloaded from the HF repo to the local disk, saved at:
$HOME/.cache/huggingface/hub/...
💡 Idea: you could push the money-saving idea even further by using a different instance type with even higher bandwidth
(e.g. c5n.18xlarge with 100 Gigabit network speed) to download the model, then save it to EBS that you later plug into your GPU instance.
I chose not to explore that at this stage, since the total time to obtain the 32B-parameter (62GB) DeepSeek model was 5 minutes
using HF_TRANSFER on g5.12xlarge, costing only ~$0.5. It’s worth considering, though, if you have a need to load it several
times or use volatile machine instances (e.g. on Kubernetes clusters).
Step 3: Run DeepSeek
Finally, run DeepSeek. I’ve supplied a link to my Python code at the top of this section, but you could also adapt it to your needs. The screen recording shows an example of the DeepSeek model generating its thinking process in real-time (sped up 8x) whilst responding to the following humdinger of a question:
“Do any two people in London have the same number of hairs on their heads?”
I’ve specified a maximum of 2000 output tokens, which is enough for this prompt, though a decent number of thinking tokens were necessary to get to the answer.
The panels on the right show the resource utilization within the cloud instance during generation. The top-right pane
monitors the usage of the four GPUs by constantly polling gpustat. You can see
that, after loading the model into GPU memory, the cores heat up and their usage fluctuates wildly between 15-40%. The
bottom-right shows the CPU usage, mostly engaged during loading the model into GPU memory, and thereafter idle apart
from one core.
Conclusion
This article walks you through how to run a DeepSeek model in the cloud (specifically on AWS), documenting detailed setup steps including which machine image to use, the type of instance to rent, and how to download the model weights in double quick time.
If you enjoyed reading it, please hit the ⭐ button on my GitHub page.
Appendix: Step 1a - Build AMI
Whilst you can use an off-the-shelf AMI targeted at Deep Learning, I’m a bit of a purist and like to understand the build from a bare Ubuntu server. I followed this gist to get me off the ground, and then documented my exact steps in the script linked at the start of this section. Feel free to skip this step if you have a GPU-ready image that you prefer to use. Whichever way you go, note down the name or ID of the AMI, and reference it when you launch your instance.
If you go ahead with this AMI build, I’d recommend using a lower-tier instance type, such as g5.xlarge, just to save a few dollars. Ensure that you have around 30GB of EBS disk space.
Using Ubuntu 24.04 server as a base, our main task is to install the NVIDIA drivers. For me, the AMI ID was ami-03fd334507439f4d1
but there is no reason this couldn’t change in the future, due to updates or such like.
Start out by purging the system of older versions (not strictly necessary for a clean install, but just in case):
sudo apt autoremove nvidia* --purge
Install the small ubuntu-drivers-common package that helps to check for the most appropriate drivers for the hardware:
sudo apt install -y ubuntu-drivers-common
sudo ubuntu-drivers devices | grep recommended
# driver   : nvidia-driver-550 - distro non-free recommended
For this Ubuntu version and hardware (NVIDIA A10G), the recommended driver version is 550, so we can install it with:
sudo apt install -y nvidia-driver-550
After rebooting, check that the driver is communicating with GPU(s) with the simple nvidia-smi command. You should
see output similar to following, which acknowledges that you can communicate with the GPU:
+-----------------------------------------------------------------------------------------+
| NVIDIA-SMI 550.120                Driver Version: 550.120        CUDA Version: 12.4     |
|-----------------------------------------+------------------------+----------------------+
| GPU  Name                 Persistence-M | Bus-Id          Disp.A | Volatile Uncorr. ECC |
| Fan  Temp   Perf          Pwr:Usage/Cap |           Memory-Usage | GPU-Util  Compute M. |
|                                         |                        |               MIG M. |
|=========================================+========================+======================|
|   0  NVIDIA A10G                    Off |   00000000:00:1E.0 Off |                    0 |
|  0%   20C    P8             10W /  300W |       1MiB /  23028MiB |      0%      Default |
|                                         |                        |                  N/A |
+-----------------------------------------+------------------------+----------------------+

+-----------------------------------------------------------------------------------------+
| Processes:                                                                              |
|  GPU   GI   CI        PID   Type   Process name                              GPU Memory |
|        ID   ID                                                               Usage      |
|=========================================================================================|
|  No running processes found                                                             |
+-----------------------------------------------------------------------------------------+
A missed opportunity for ASCII art, if you ask me.
Since this is an image build for AWS, I’d recommend installing the AWS CLI at this point, but this is of course a matter
of taste. To do so on 24.04, the easiest way to do this is with snap:
sudo snap install aws-cli --classic
Install your Python, PyTorch and related dependencies with:
sudo apt install -y python3 python3-pip
python3 -m pip config set global.break-system-packages true  # required for system-wide installs (pip 23.0+)
pip install torch torchvision transformers
pip install accelerate hf_transfer
pip install gpustat
Note that CUDA tools (such as cuDNN) are installed automatically by PyTorch, so you don’t need to do it explicitly.
Finally, you can save the image at this point in order to make use of it in the future. Navigate to
EC2 > Instaces > Actions > Image and templates > Create image
and you can save it from there. It will take a good few minutes, and you should not use the instance during this time.
Do let me know if you manage to reproduce this or any other steps in this guide, either via email or GitHub 👏 Reach out also if you tried, but encountered issues.


